3D Printed Bodysuit
Soft Goods Design & Fabrication
Combining geometric trends with 3D printing capabilities to produce floating fashion.

Process
-
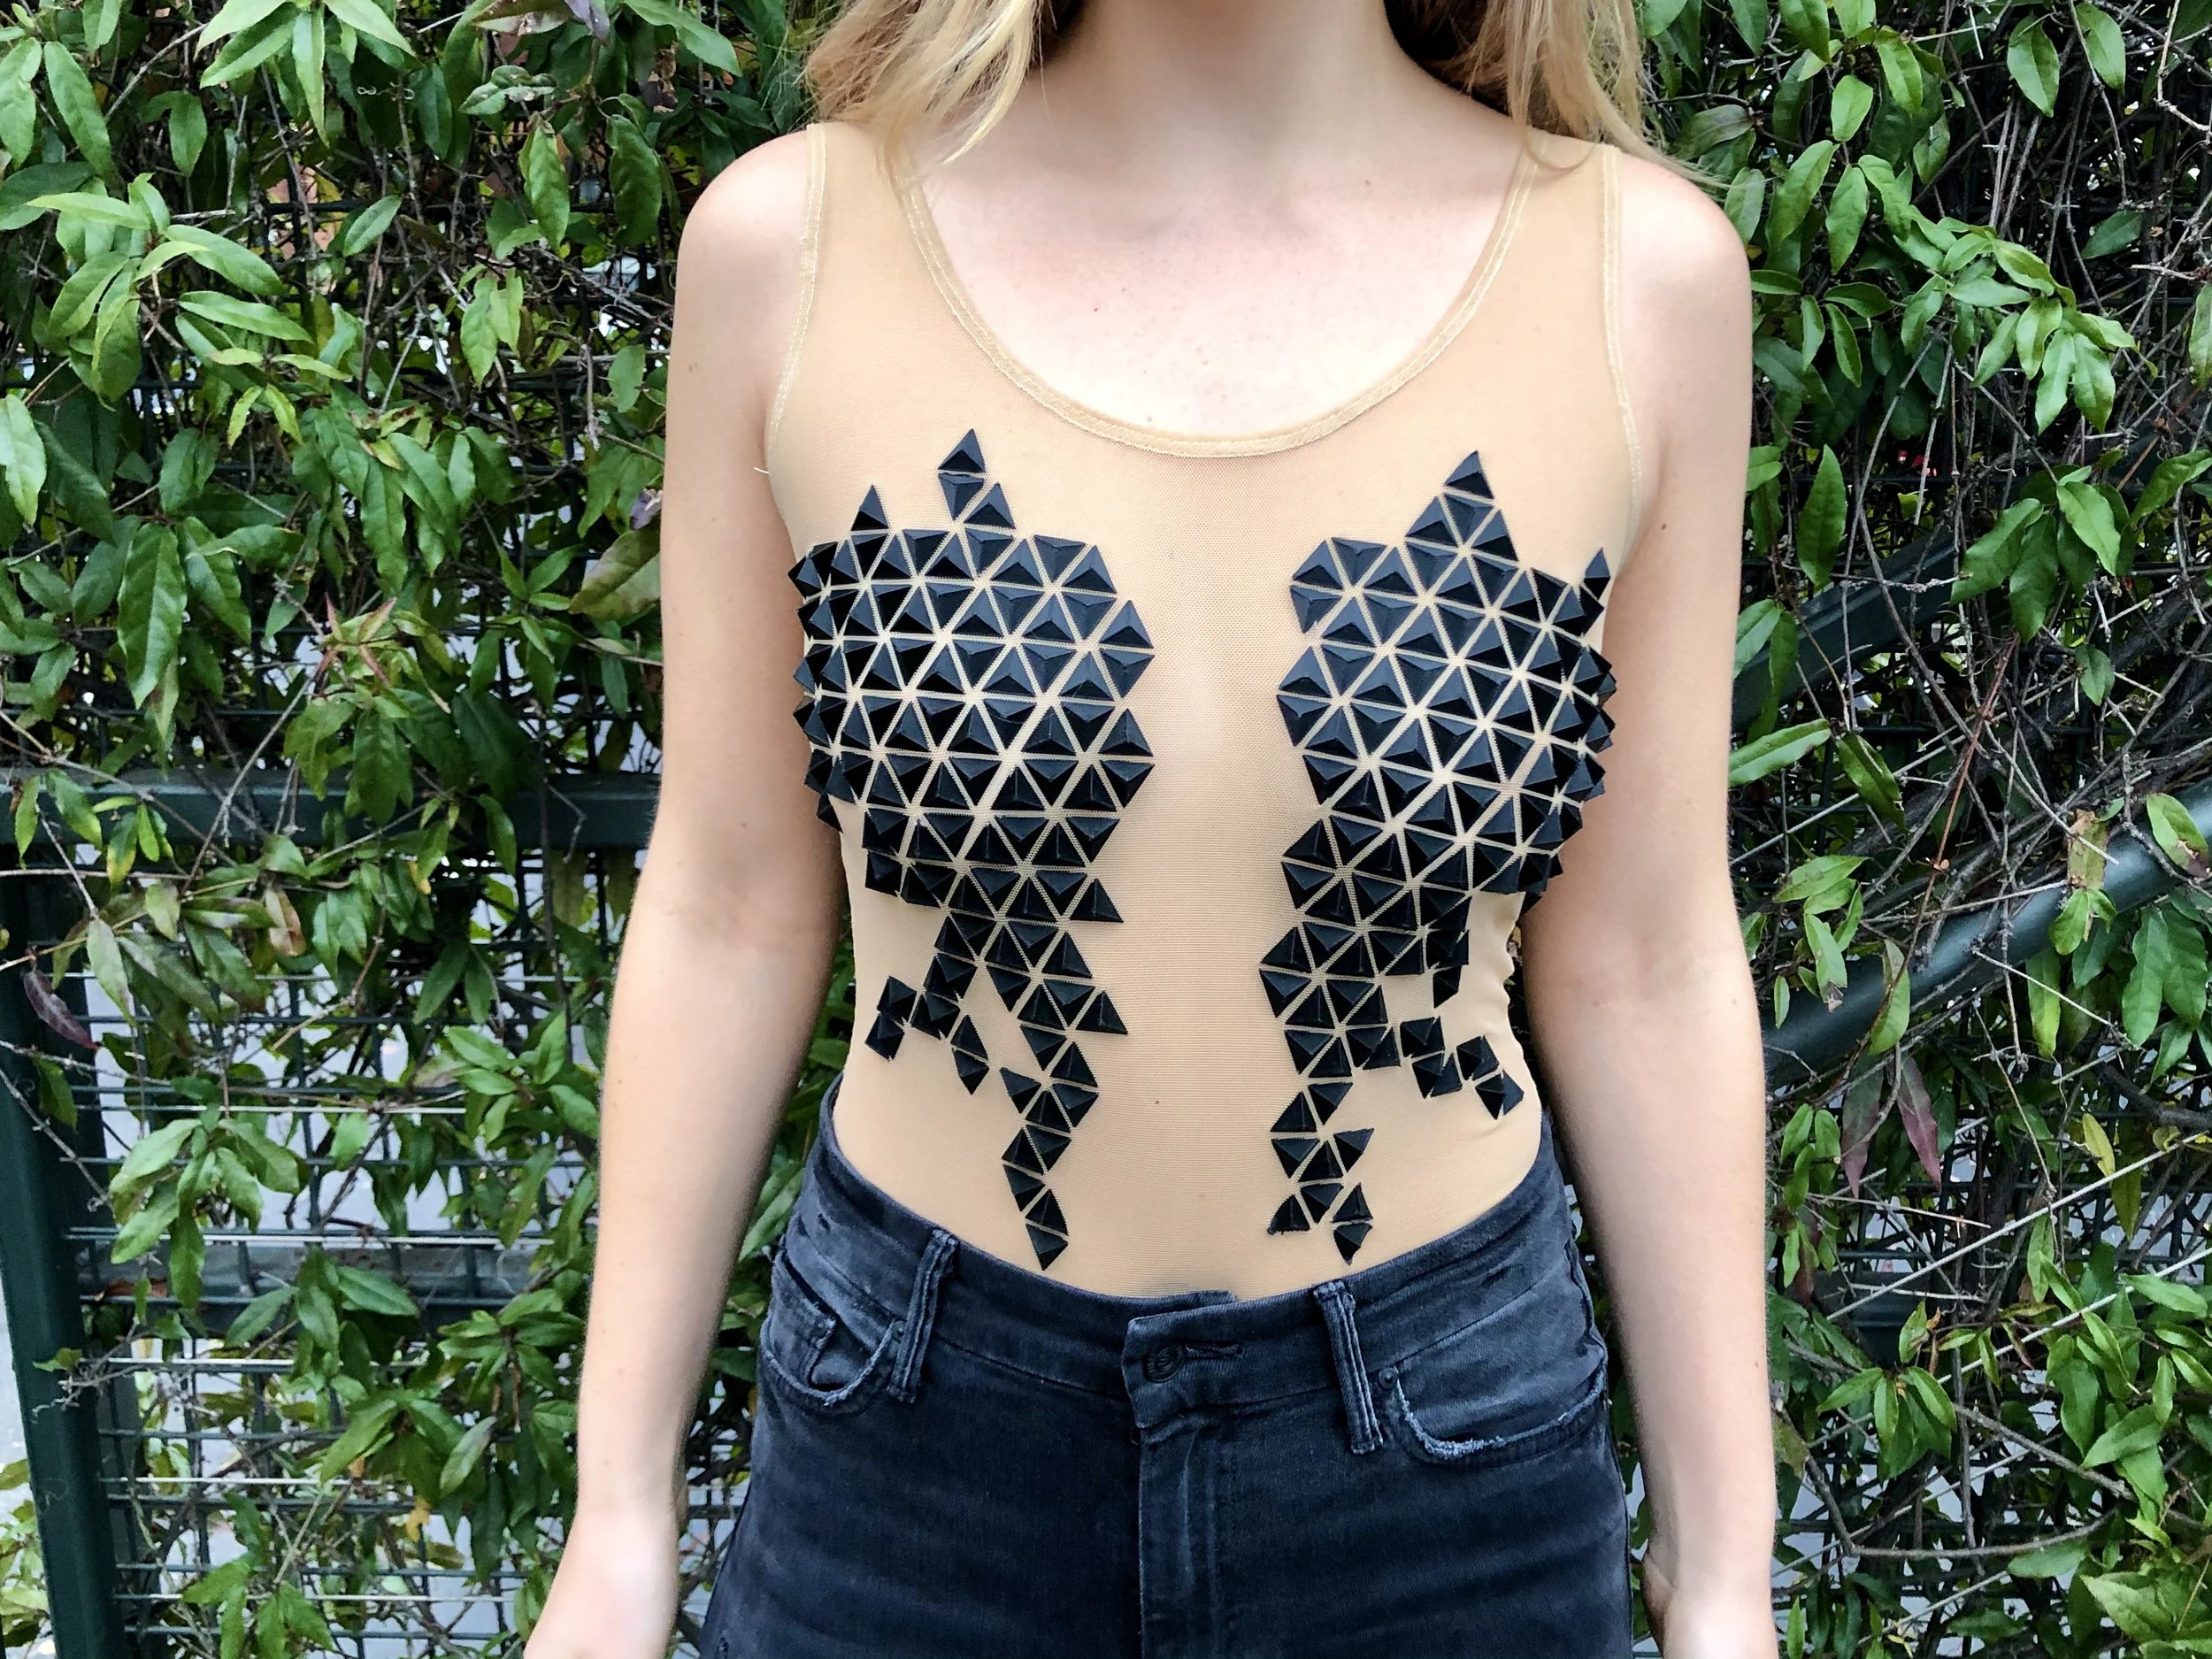
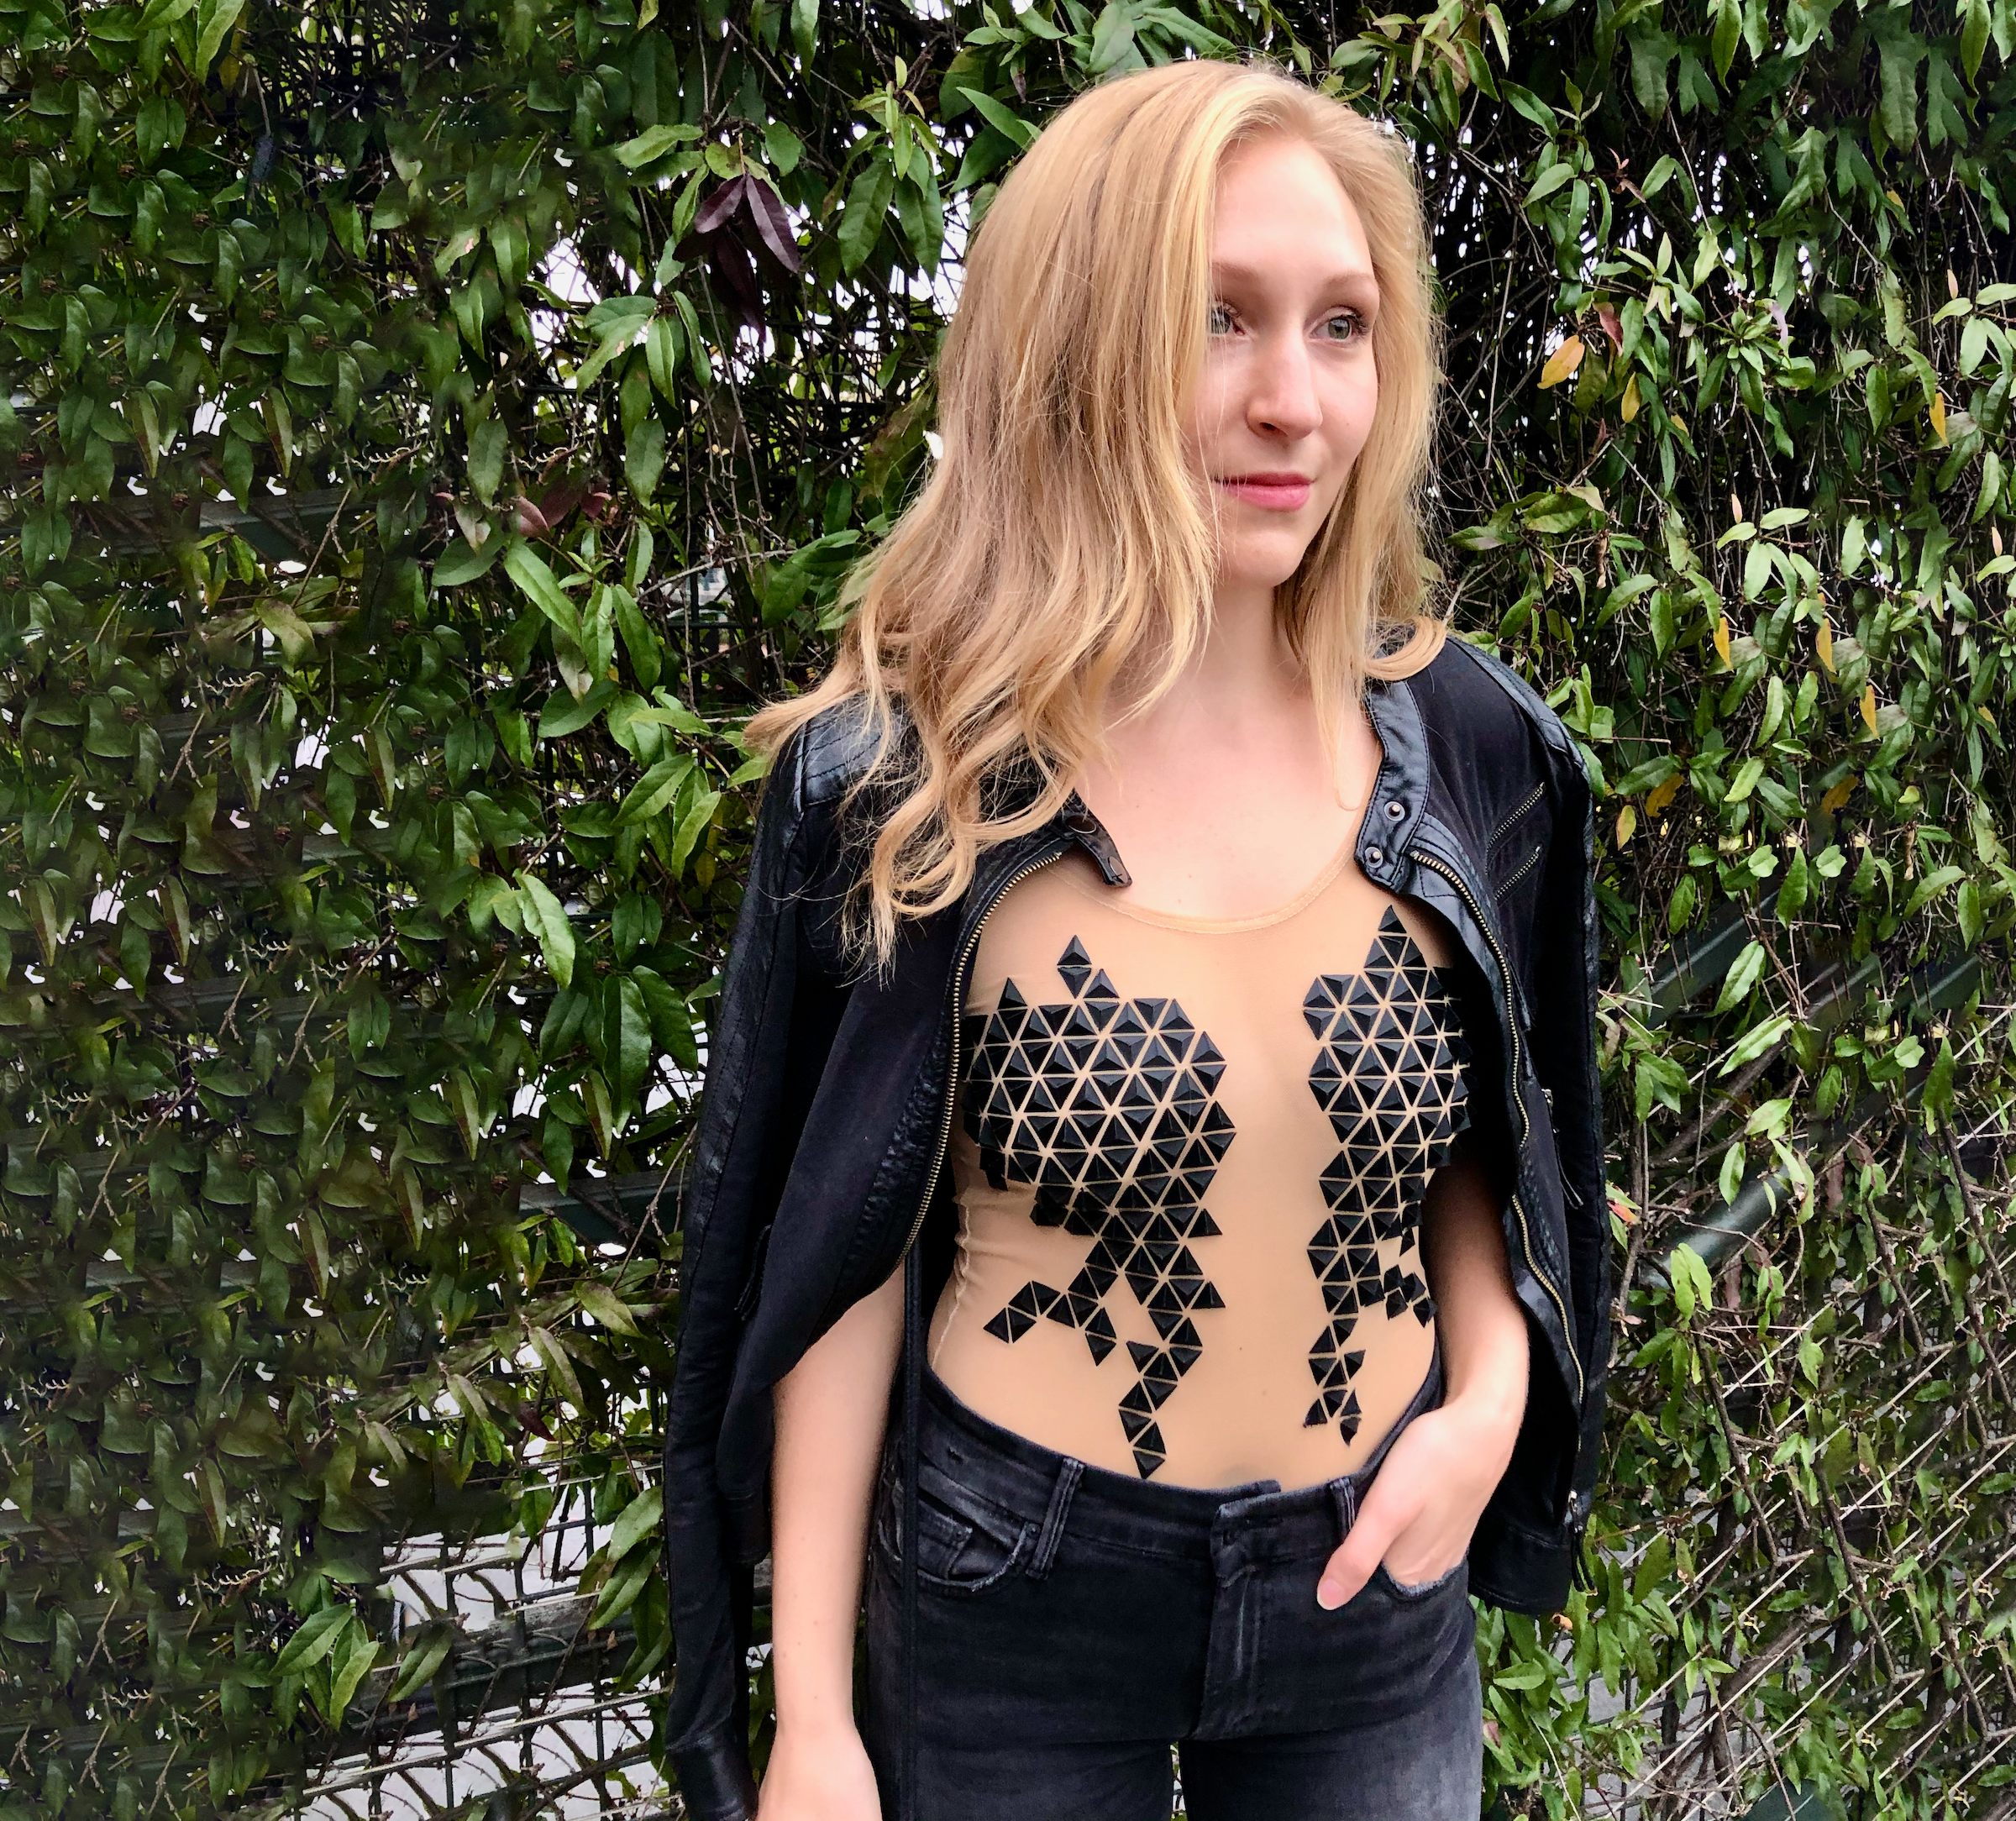
From moodboards to sketches, this initial wearable concept was born. It would be a tan, mesh leotard, with 3D printed sections to cover the model’s chest. From afar, the 3D printed layout would appear to float on the model, seemingly wearing nothing else.
-
From collecting measurements to creating patterns for both the leotard and the geometry, I brought my vision to life through design, which set me up well to begin fabrication.
-
Nothing this cool comes easy. Read below to learn about this grueling process and the learnings that came with it.
Research & Ideation
From moodboards to sketches, this initial wearable concept was born. It would be a tan, mesh leotard, with 3D printed sections to cover the model’s chest. From afar, the 3D printed layout would appear to float on the model, seemingly wearing nothing else.
Tools: Pinterest, Adobe Illustrator, Sketching, Daydreaming


Design
First, I used the measurements of my model to create a leotard pattern that would fit her perfectly. From that, I created the file that would be used to perfectly laser cut the fabric.
I also meticulously designed and laid out the geometry to be 3D printed onto the leotard. From that, I modeled the 3D geometry in CAD, and from that, I created the .gcode file to begin printing.
Tools: Adobe Illustrator, Fusion 360, Cura


Fabrication
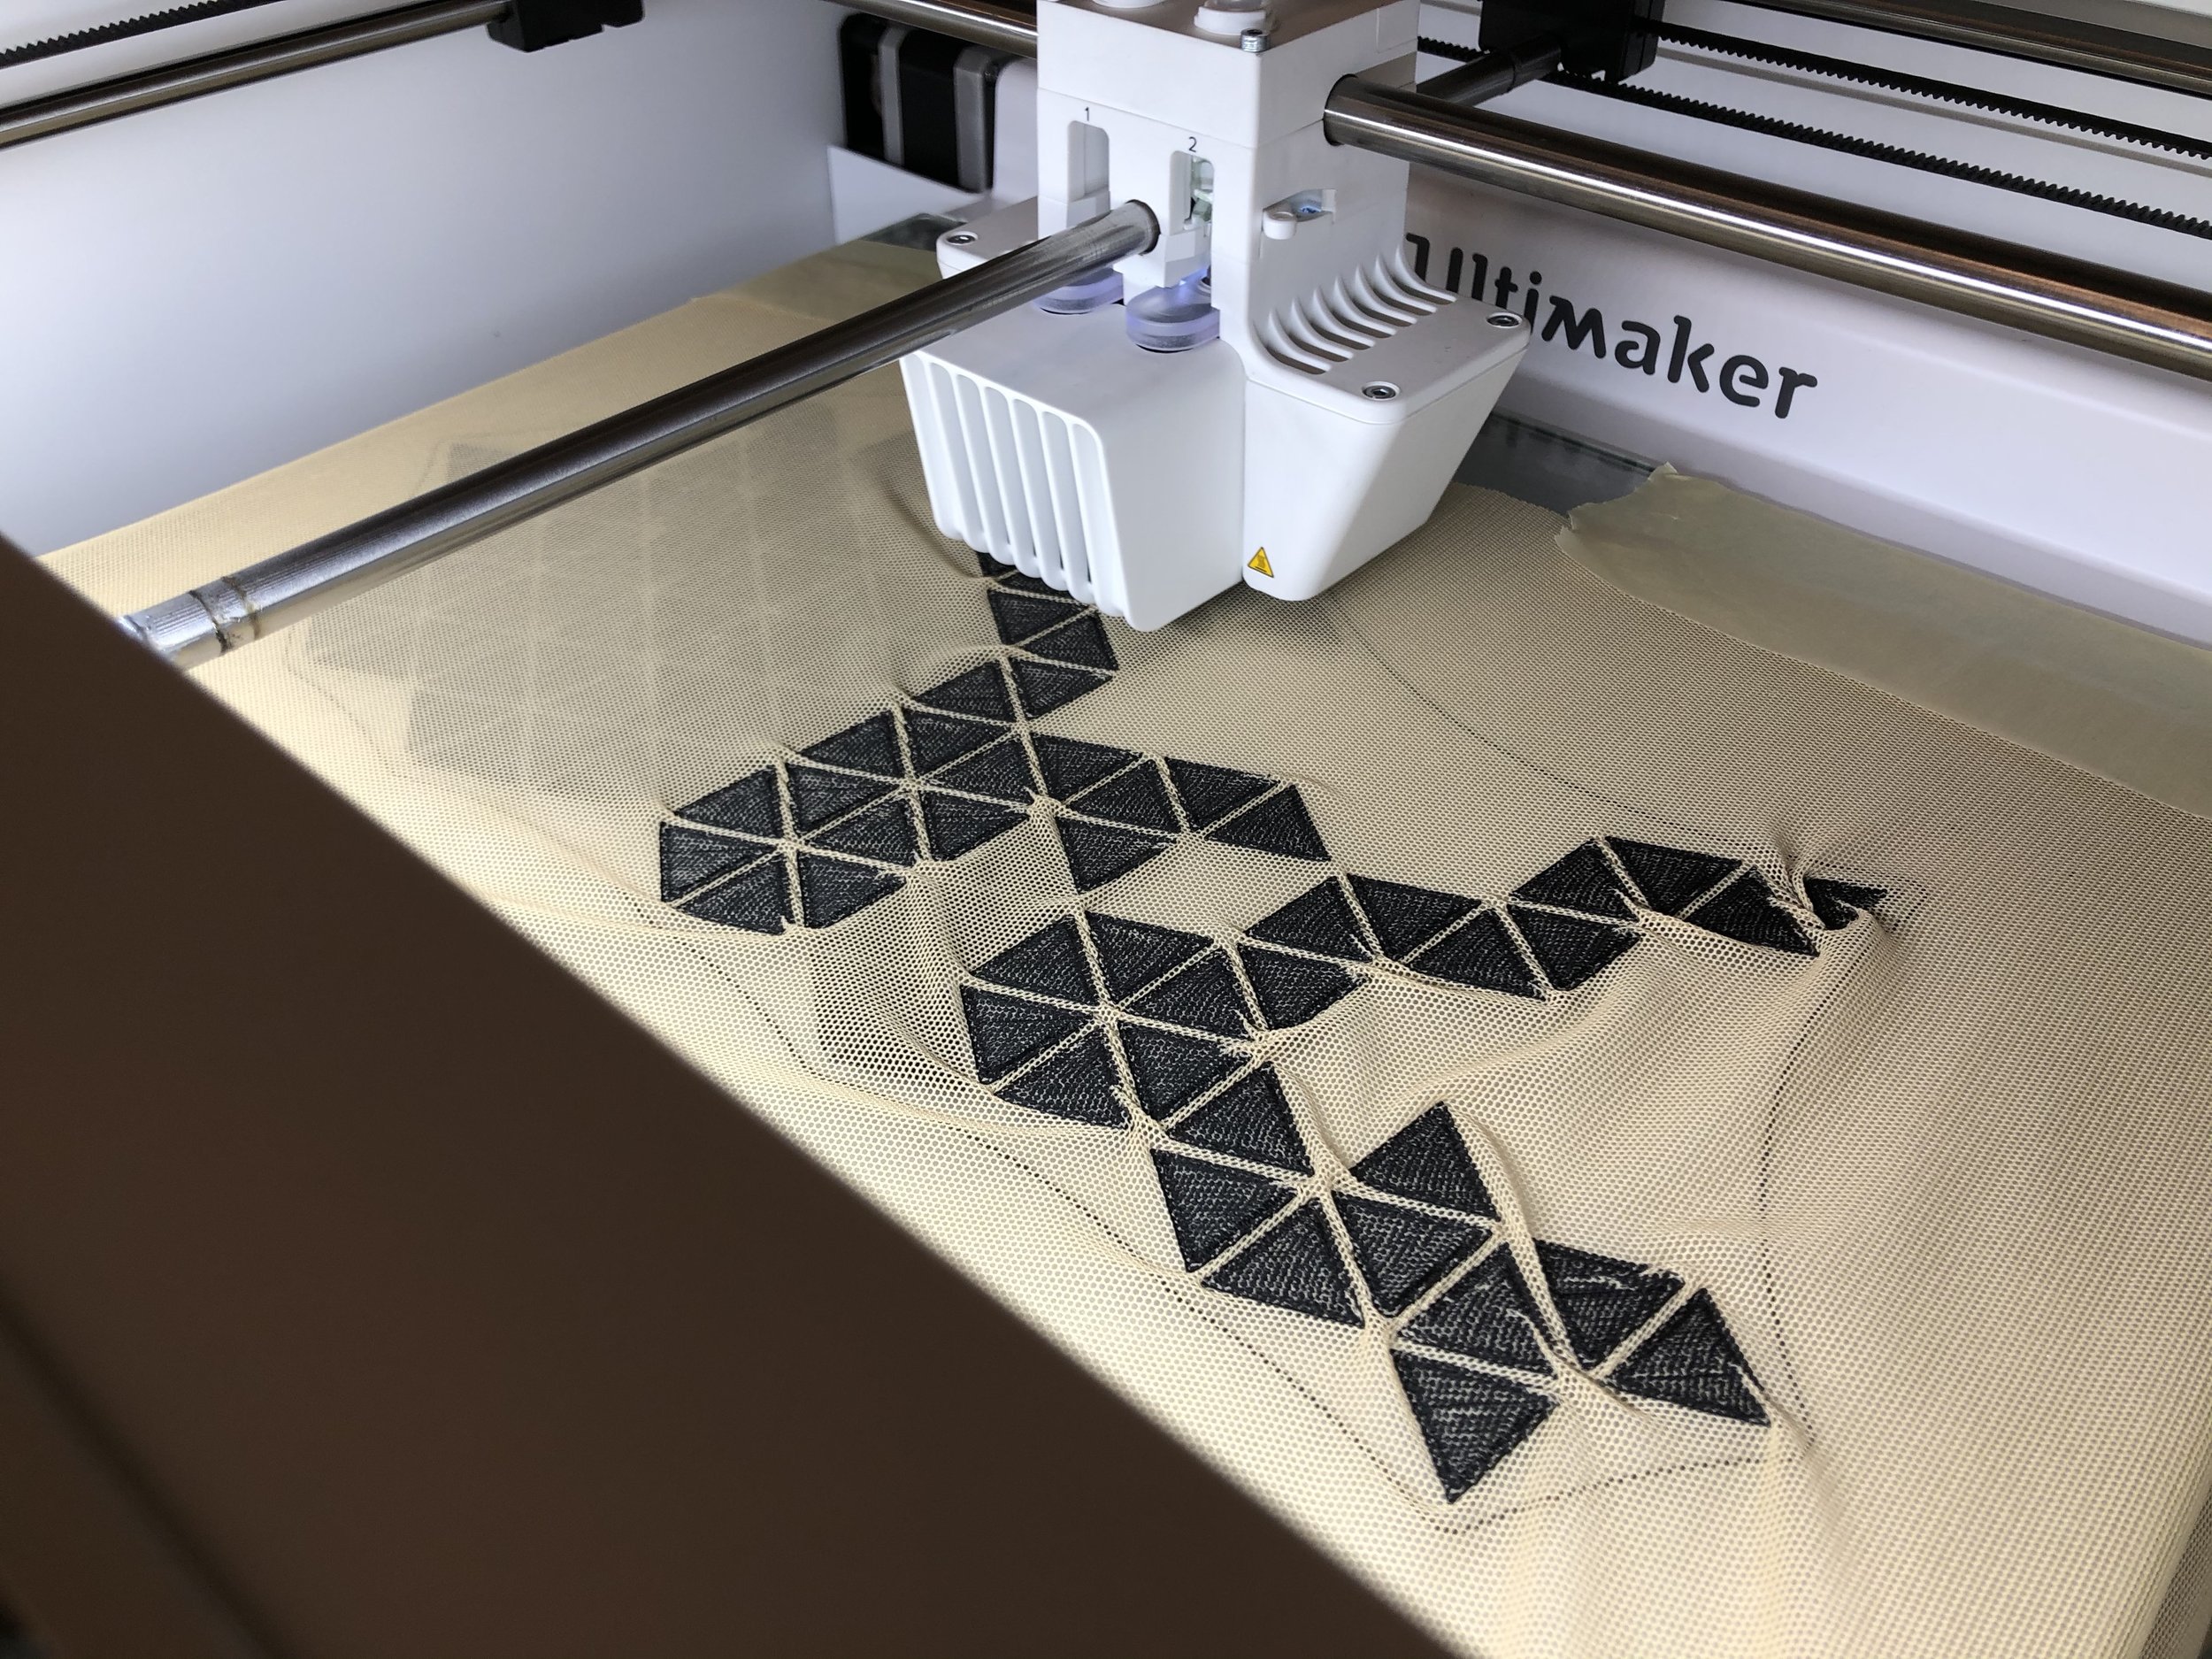
Y’all. The fabrication was TRICKY. I started with the 3D printing before cutting the design files from my fabric. This is because I had to meticulously lay out not just one, but two geometric sections via two separate 3D prints (I didn’t have a printer large enough to do it all at once). And let me tell you, getting two successful prints in a row was quite a feat.
However, the general idea was this: for each print, you lay 2-3 layers of PLA down on the print bed, pause the print to clip your fabric over the PLA, and resume your print. The new layers of PLA will then bond to the ones below the mesh, encapsulating the fabric within the print for a durable hold.
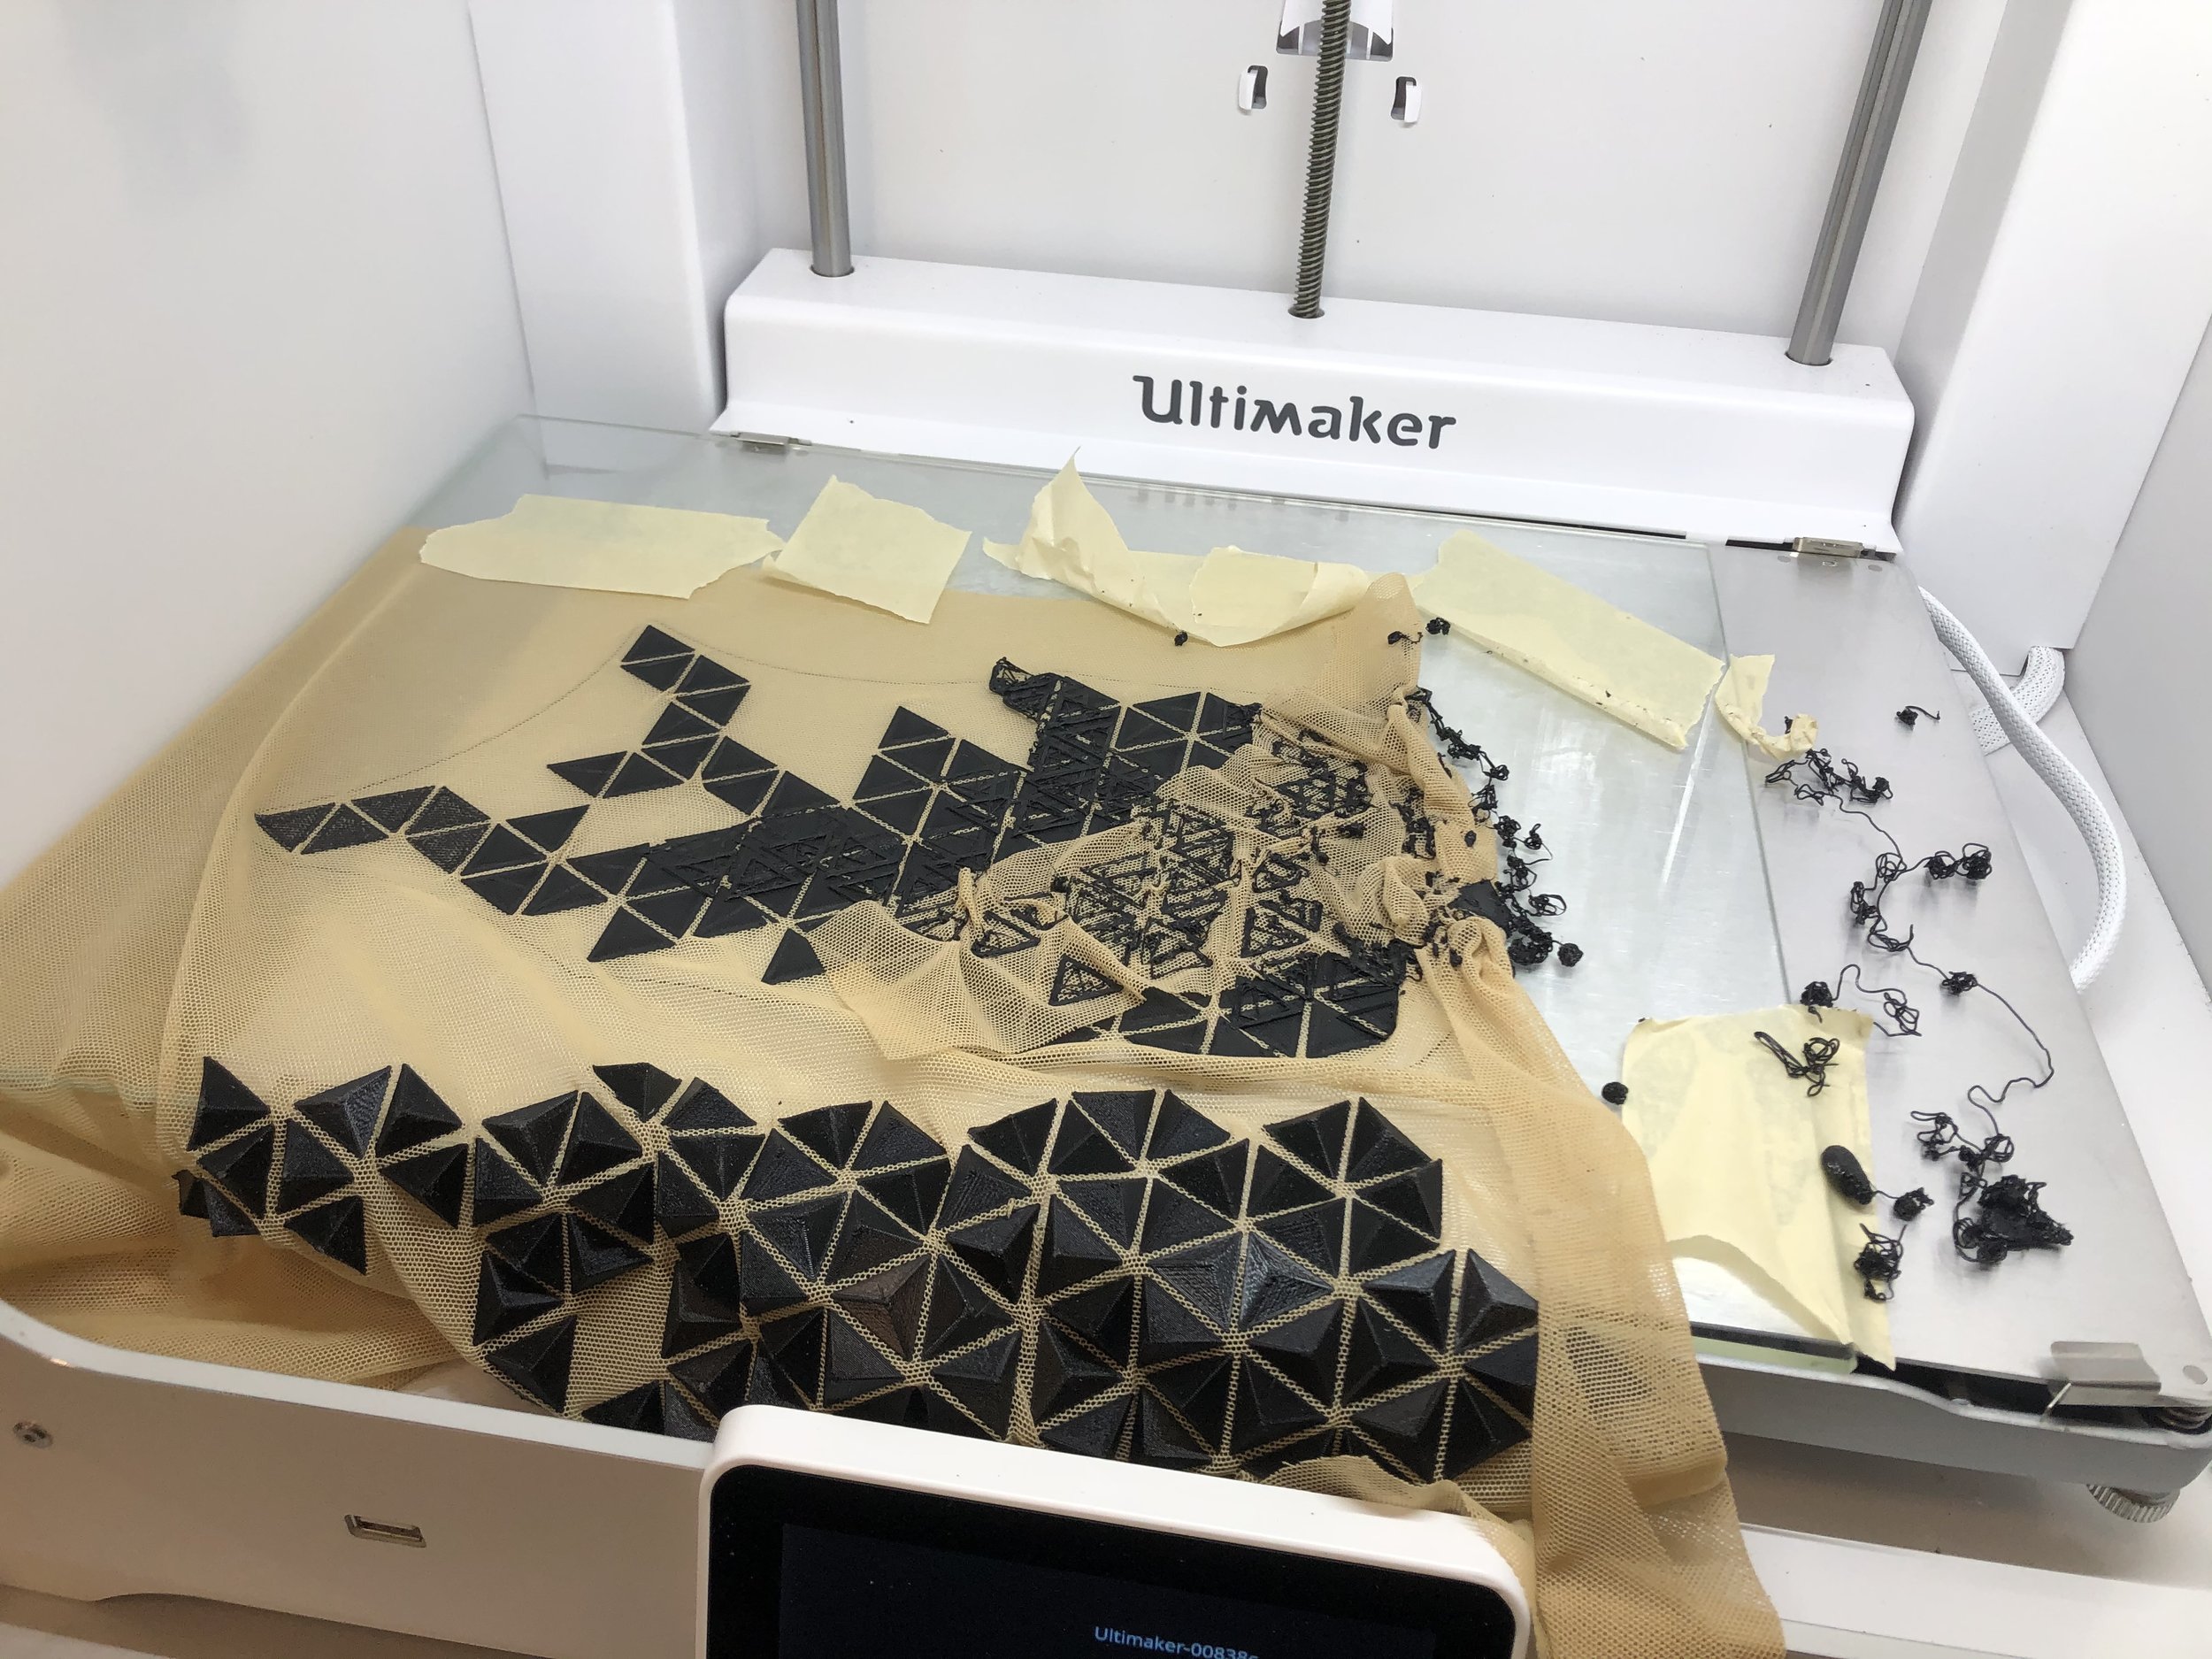
Each side of the bodice took 12 hours to print, and I must have had at least a dozen failed prints before the final round (one of them pictured below). Because of how finicky these prints were, I had to babysit every last print to completion (or failure). Pretty sure I shaved at least a year off my life on this project.
Anywho, with the successful 3D print laid out on my fabric, I then took that fabric to the laser cutter to cut out my pattern. I confirmed fit on a mannequin, pinned and sewed it together, complete with elastic trim for the legs and arms.
Tools: Laser cutter, 3D printing, Sewing


The Final Product
-
![]()
-
![]()
-
![]()
-
![]()
-
![]()
New List Item